

Mac Mail: New Account Setup for Zimbra
 Intro
Intro
This document will walk you through how to setup Mac OS Mail for your new Zimbra account on Daedalus. If your mail account is being migrated from Amber to Zimbra, you should refer to this document instead. The screenshots here are for Mac OS 10.7 (Lion), but the basic settings here should apply to pretty much any version of Mac OS.
Initial Setup
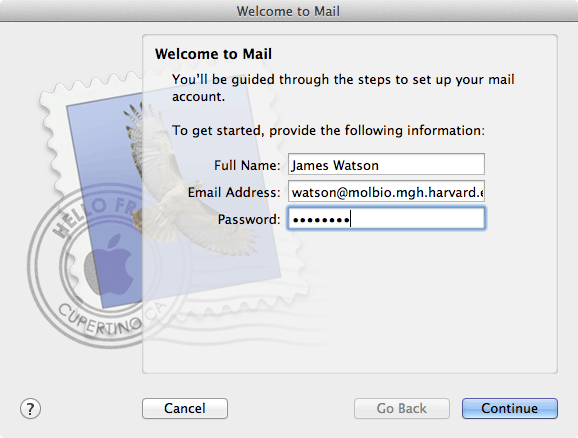
If this is the first time that you have setup Mail, or you are relaunching it after having deleted any previous accounts, you will be greeted with the following screen. Enter your name, email address and your email password for the Zimbra server.
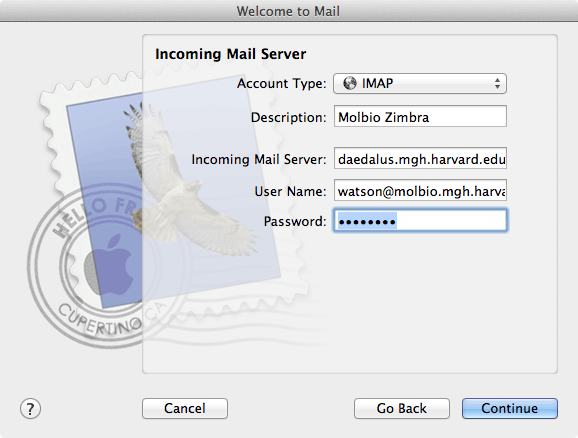
Next, select IMAP as your Account Type. The Description field can be set to whatever you want, this is what your mailboxes will be listed under in the Mail program (and can always be changed later). The Incoming Mail Server should be set to daedalus.mgh.harvard.edu and your Username should be set to the same as your email address.
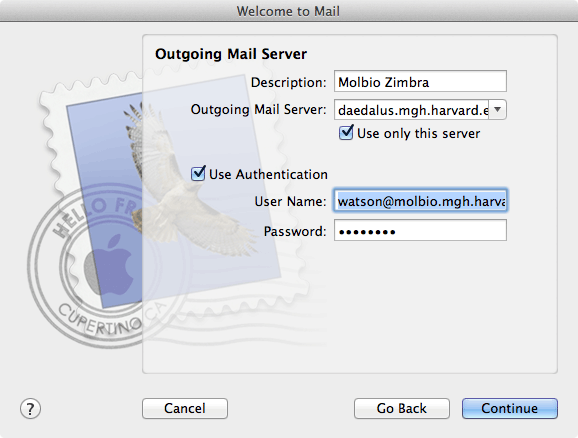
For the Outgoing Mail Server enter daedalus.mgh.harvard.edu and check the Use Authentication box. The Description can, again, be an arbitrary name.
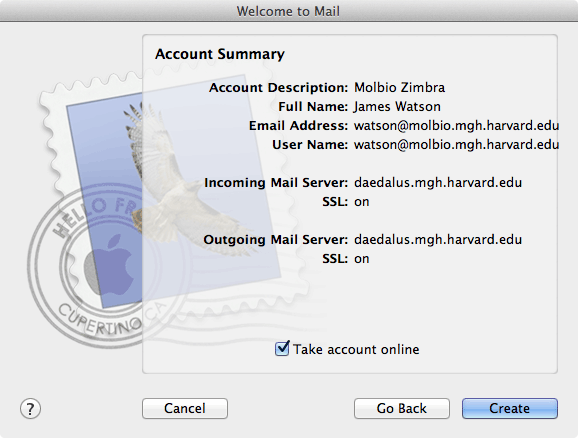
You will now get a summary of your account settings, which ought to look something like the following. Go ahead and click Create to get on with the final setup steps.
Final Setup
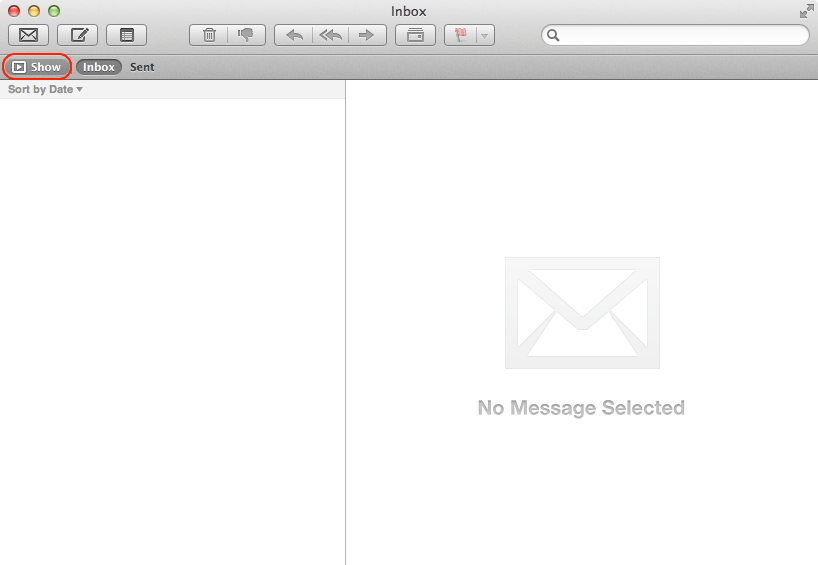
If you are running Mac OS 10.7 (Lion), and don't have any mail yet, you are going to get a pretty bare screen. We need to to configure some of the mail folder settings, so to see them you will need to click on the Show button (circled in red).
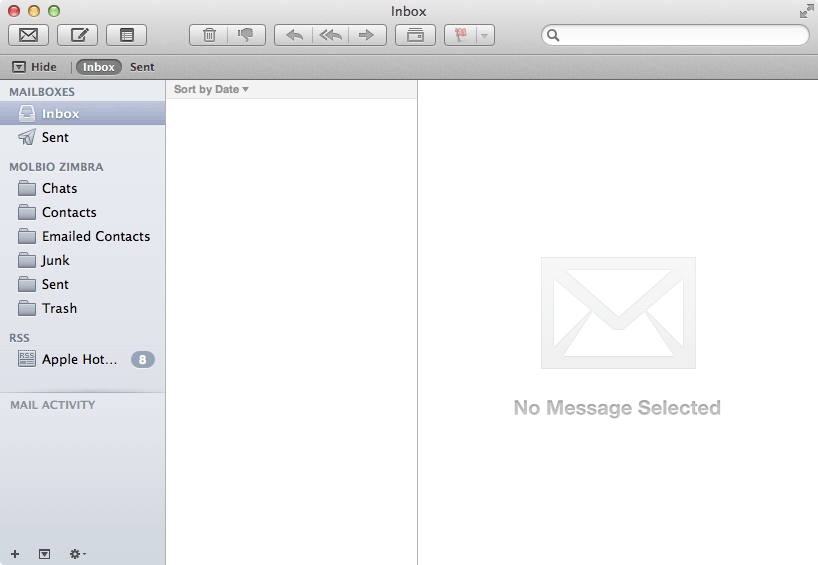
This expands your mailbox listing so you can see all of the other folders that exist in your mailbox. If this is a brand new account, you are just going to see six additional default folders under your account description: Chats, Contacts, Emailed Contacts, Junk, Sent and Trash. The first three of these should just be ignored, but the last three need to be properly configured in Mail.
The first step is to go into your Preferences... under the Mail menu and select the Accounts tab. Here is where you can change the server Description or how your Full Name is shown if needed.

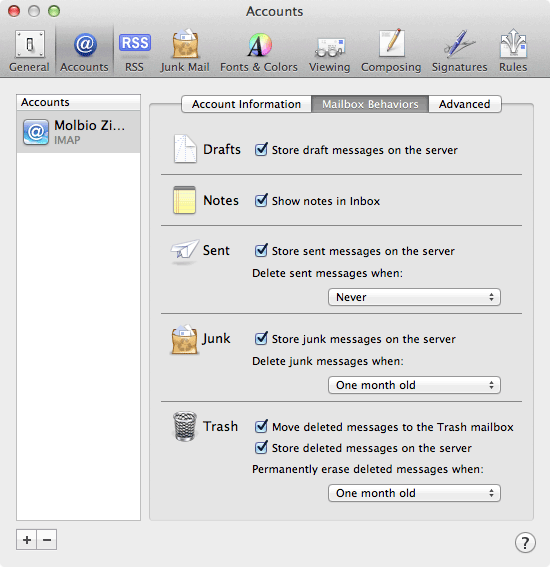
Click on the Mailbox Behaviors tab. You should select the Store junk messages on the server option and set an age at which they should be automatically deleted. You should also confirm that the age at which Sent and Trash messages will be deleted are to your liking.
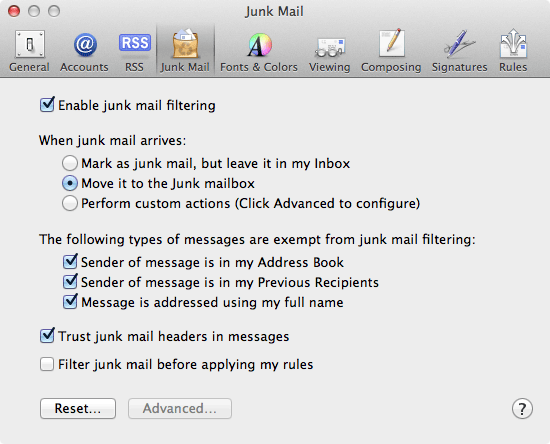
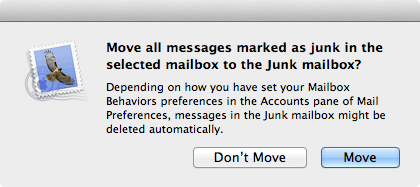
Go to the Junk Mail tab and choose the option When junk mail arrives to Move into the Junk mailbox and confirm the choice. At this point you can close out the Preferences.
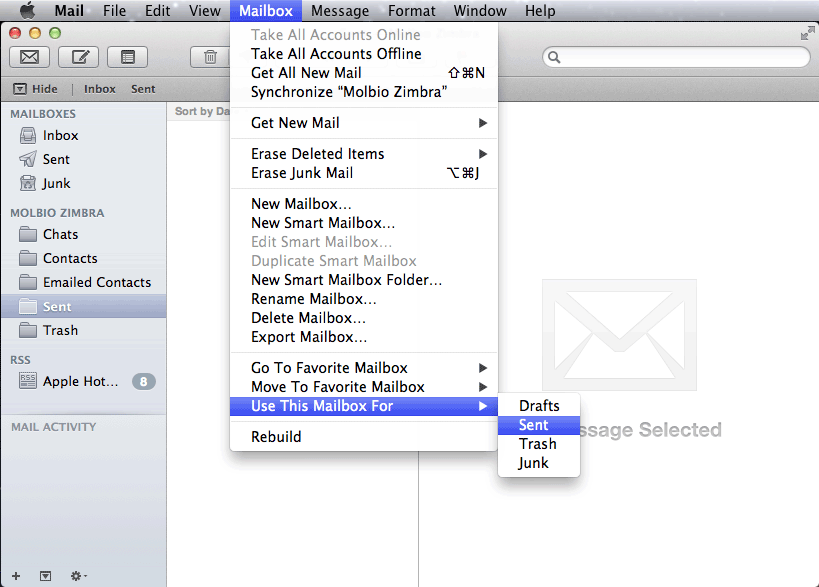
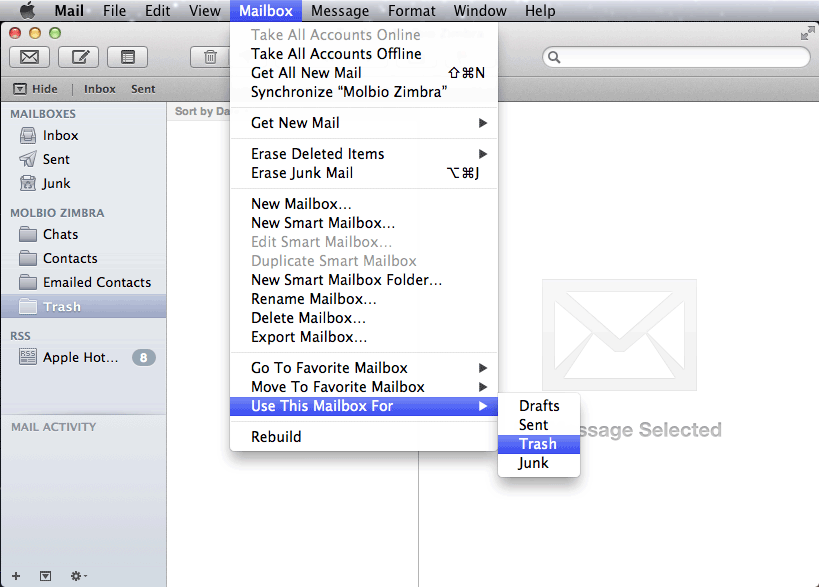
The next steps are to properly map your Sent and Trash folders (the Junk one was taken care of when saving Junk on the server was enabled). Select your Sent folder in the left sidebar then go to the Mailbox menu and select Use This Mailbox For > Sent. Repeat the same process for the Trash folder, only Use This Mailbox For > Trash.
When you are all done, your Mail window should look like the following:
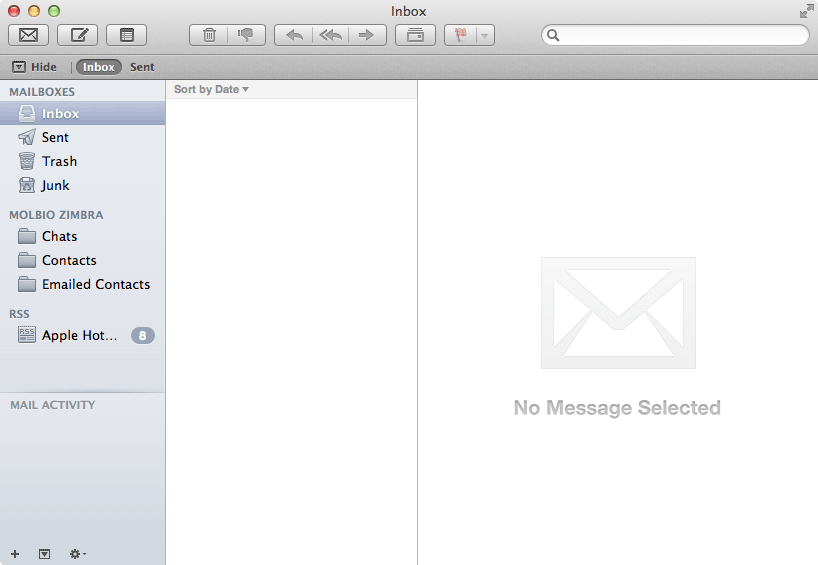
At this point your Zimbra account is fully configured in Mail. If you want, you can go back into the Preferences and do things like creating signatures and such. Otherwise, you are good to go.