

Zimbra: iCal Setup
 Intro
Intro
This document will walk you through how to setup iCal in Mac OS with your Zimbra calendars on Daedalus. The screenshots here are for Mac OS 10.7 (Lion), but the basic settings here will apply to pretty much any version of Mac OS from 10.6 on up. If you are running an earlier version of Mac OS you will not be able to use these directions, as this setup utilizes CalDAV which is only a feature in more recent versions of iCal.
Initial Setup
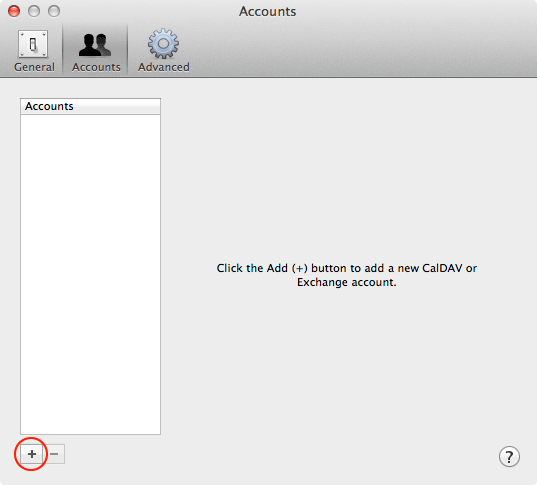
The first step is to go into your Preferences... and open the Accounts tab. Click the Add (+) button in the bottom left corner.
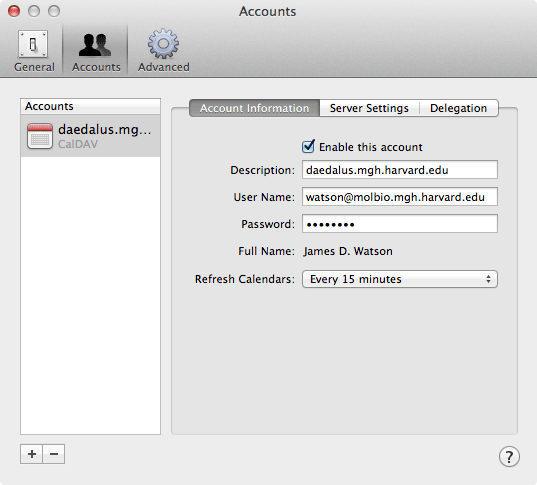
Select CalDAV as the Account Type, enter your Daedalus User Name (email address), Daedalus password and daedalus.mgh.harvard.edu as the Server Address. Click Create.

That is it for the mandatory setup. You should end up with something like the following screen if all values were enetered correctly.
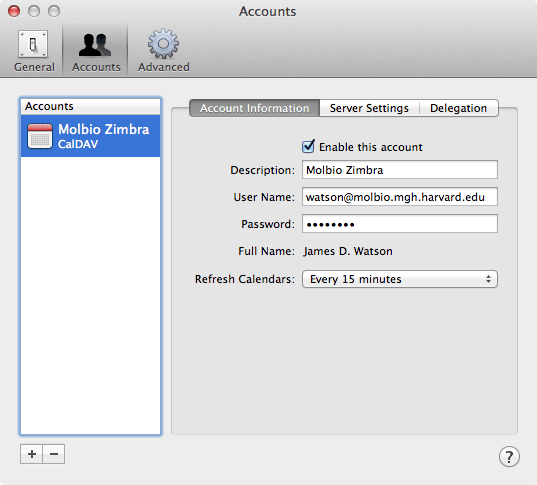
While you are here though, you might as well set something briefer and more descriptive in the Description field. Otherwise just close the Preferences.
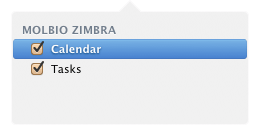
To see what calendars you now have available, you can select the Calendars button in the upper left corner.
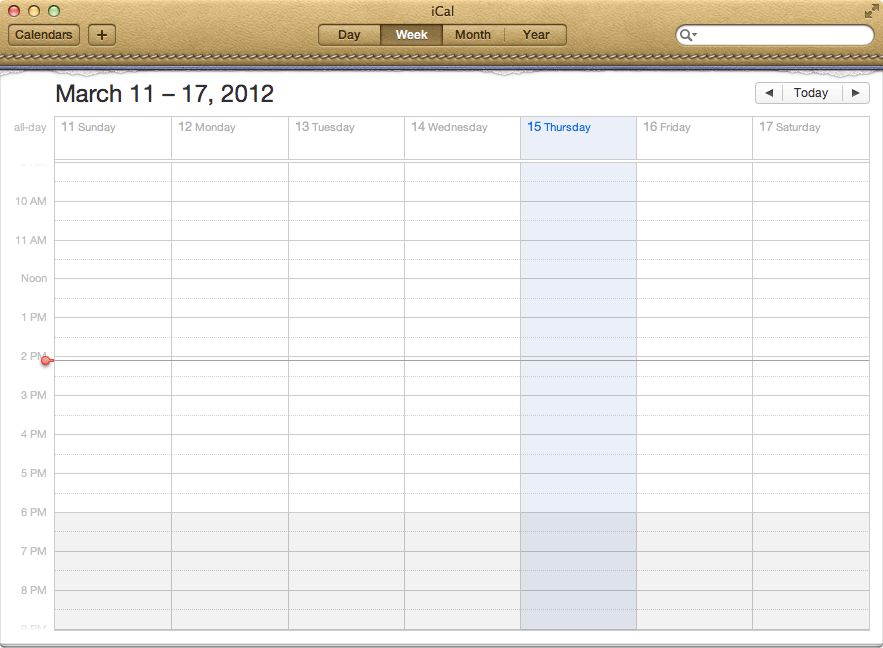
If you haven't used iCal before and haven't created any new calendars in Zimbra, your calendar list will be pretty brief.


If you haven't used the default On My Mac calendars, you might want to go ahead and delete them. If you have events in them that you want to move into Zimbra, see the notes at the end of this page.
To delete the calendars, you can right-click (or option-click) on the calendar and select Delete from the popup menu. Alternatively, you can selet the calendar and then go th the Edit menu and choose Delete.
You might also want to change the order that your Zimbra calendars are listed in and place your primary calendar that events get listed in at the top. The reason for this has to do with how events that get created via the Mail program get entered.
In Mail, if there is a date or time that the application recognizes as being a possible event, the date/time will be highlighted with a grey box when you mouse over it.
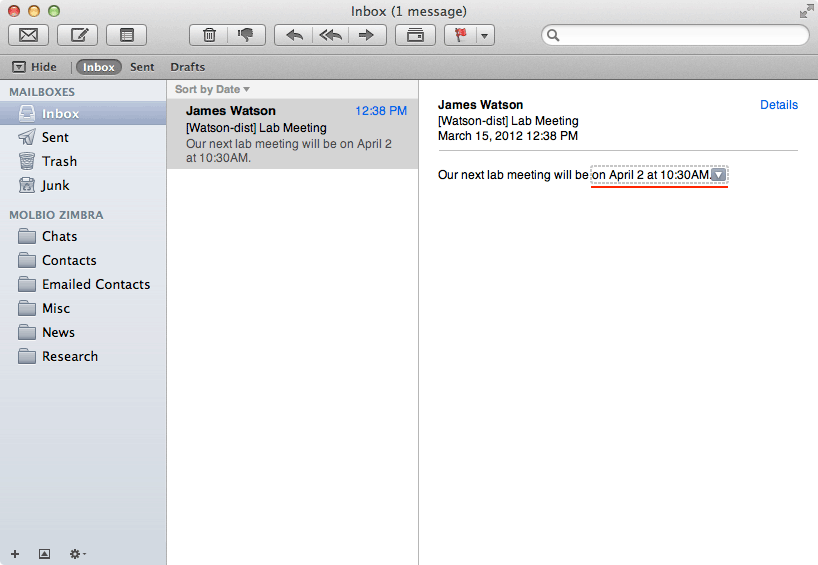
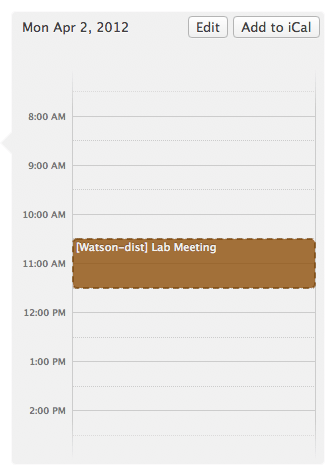
Clicking on the triangle at the end will popup a window showing how the event fits into that day's calendar. From here you can choose to immediately add or edit the event. The event will be placed, by default, in which ever calendar in iCal is the first calendar in your list. So setting the most used one as first will save time and effort, otherwise you can go into iCal and change which calendar the event is assigned to.
Moving Local iCal Calendars to Zimbra
If you already have local calendars in iCal and want to move them into Zimbra, this can be done in relatively few steps.
- In iCal, select the calendar that you want to move. Go to the File menu and choose Export > Export... which will give you a file dialog box where you can name and save the contents of your selected calendar.
- Log into the Zimbra web interface, open the Zimbra Preferences tab and select Import / Export from the side bar.
- In the Import section click the Browse button and find the file that you saved in the first step. Note that the file will have the name you saved it under with a ".ics" at the end of it, e.g. Home.ics. Click Open.
- Back in the Import section you should now see one of your existing Zimbra calendars listed as the Destination. If you want to choose a different calendar to import the events into, or if you would like to create a new calendar for them to go into, click on the Destination box and select the appropriate calendar (or create the new one) and click OK.
- If you are happy with your choice, you go ahead and click the Import button. You should get a message saying the import has succeeded.
- Switch back into iCal, go to the Calendar menu and select Refresh All. Your new calendar (if you created one) and events should now be showing up. In fact, you ought to be seeing duplicate events; the ones locally in iCal that you exported and their corresponding event imported into Zimbra. If all looks well you can now go ahead and delete the local calendar from iCal.
- Repeat as needed for each calendar you want to move.