
OneNote
 |
Step by Step - OneNote ELN |
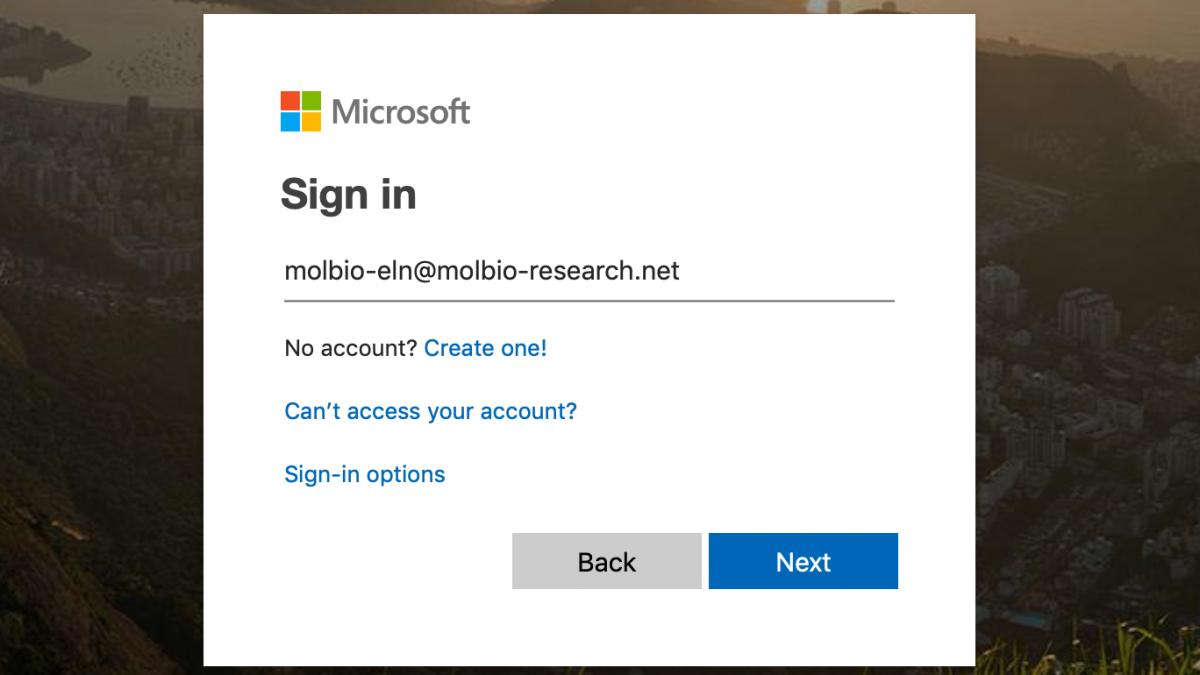
2.Sign in to the portal and setup 2-factor authentication.Log into the Microsoft Portal to setup your account and download the office software including OneNote. Please note that when logging in for the first time you will need to provide a phone number for 2-factor verification. This is to help keep your data safe and is required. If you are unable to receive text messages or have other concerns with 2-factor authentication please email computer services for help. 2a.Go to:and sign in with the account you received in Step 1. The account used in the example is 'molbio-eln@molbio-research.net', but you should use the account information provided to you by Computer Services. |
 |
|
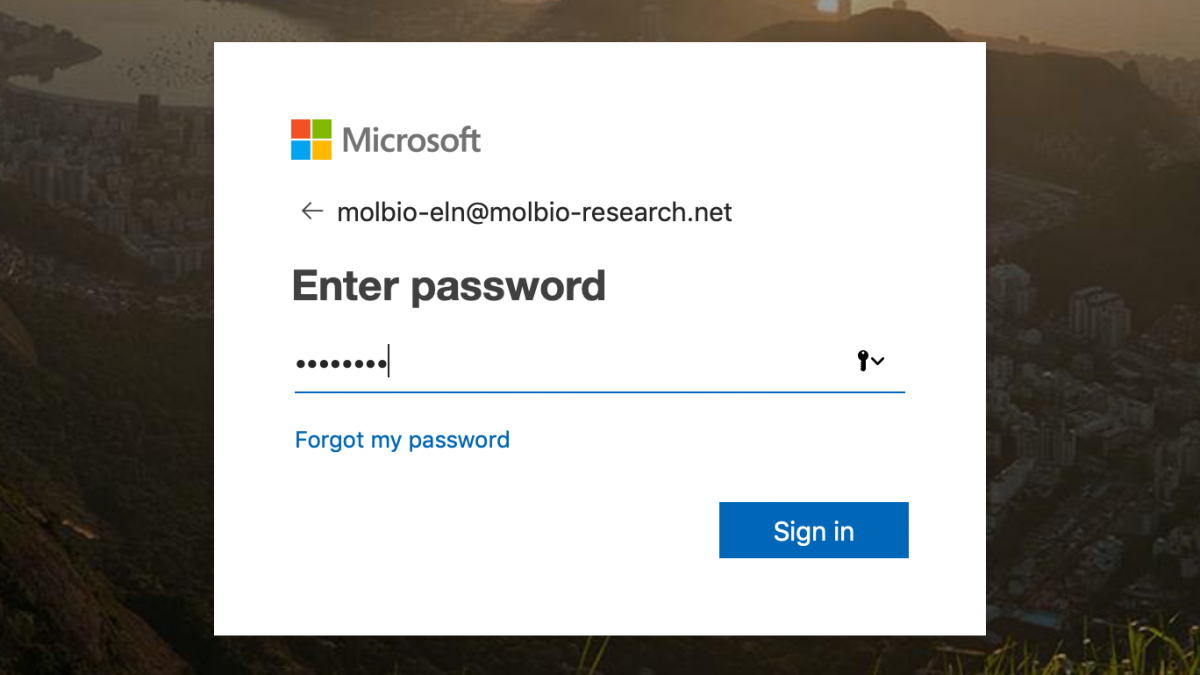
2b. Enter you password. |
 |
|
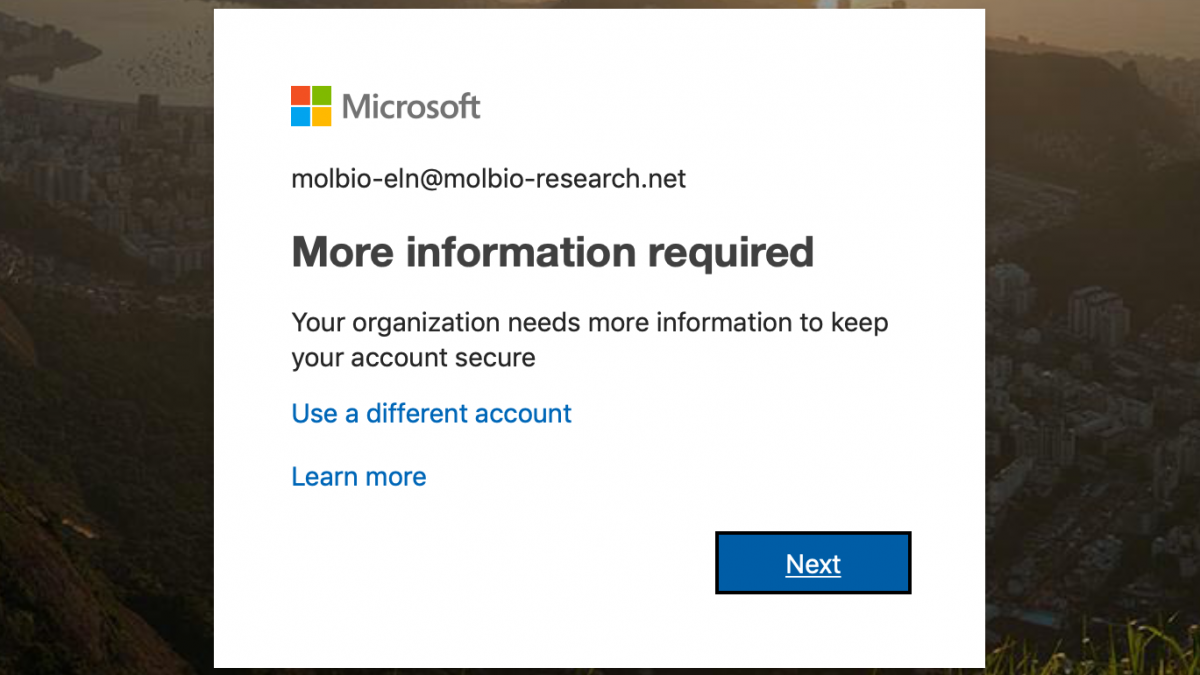
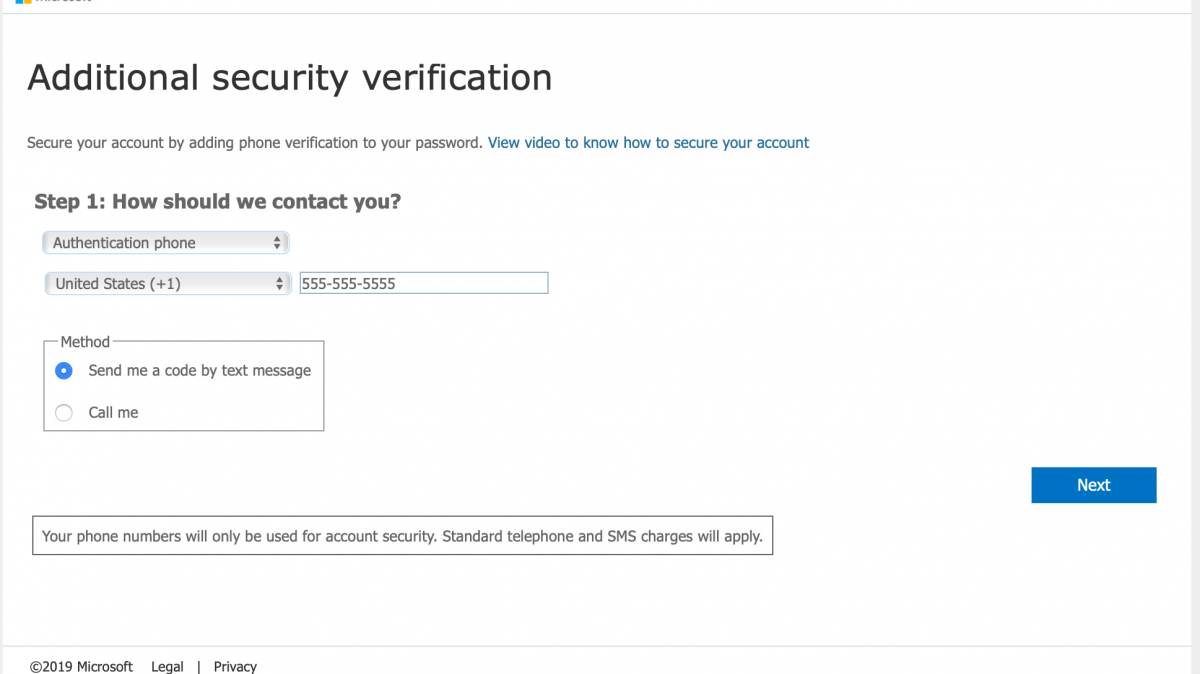
2c. Enter additional information needed for 2-factor authentication. |
 |
 |
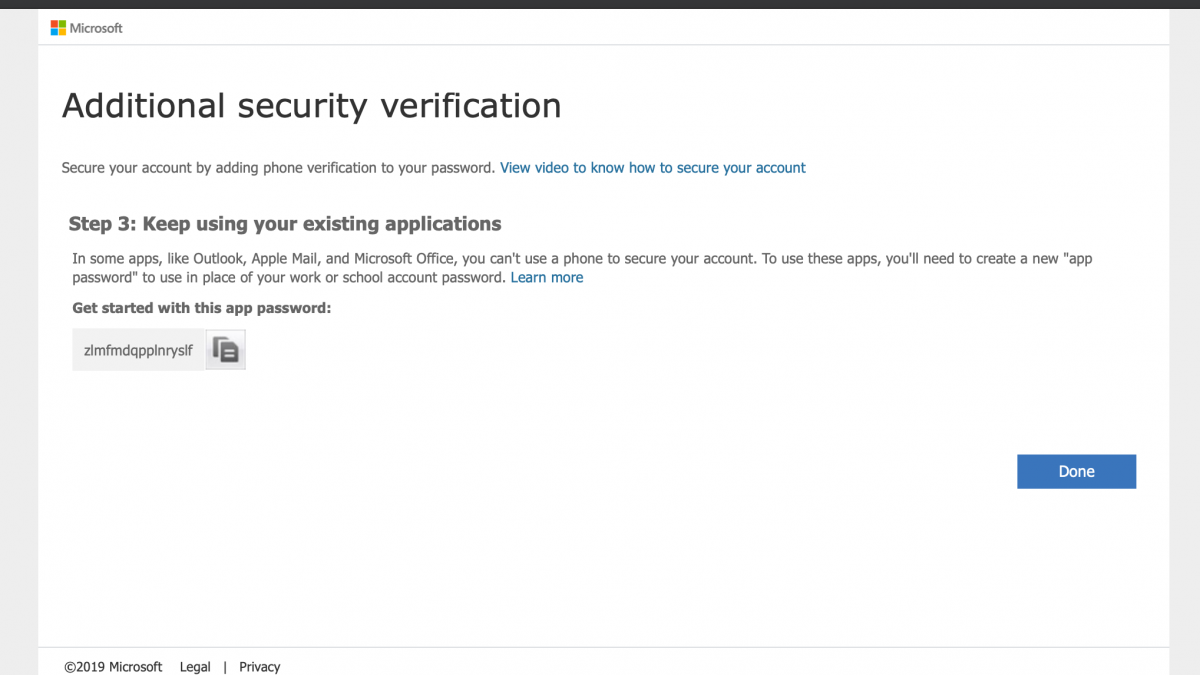
2d.Click 'Done'. You do not need to copy the app password that is offered to you. It is safe to ignore. |
 |
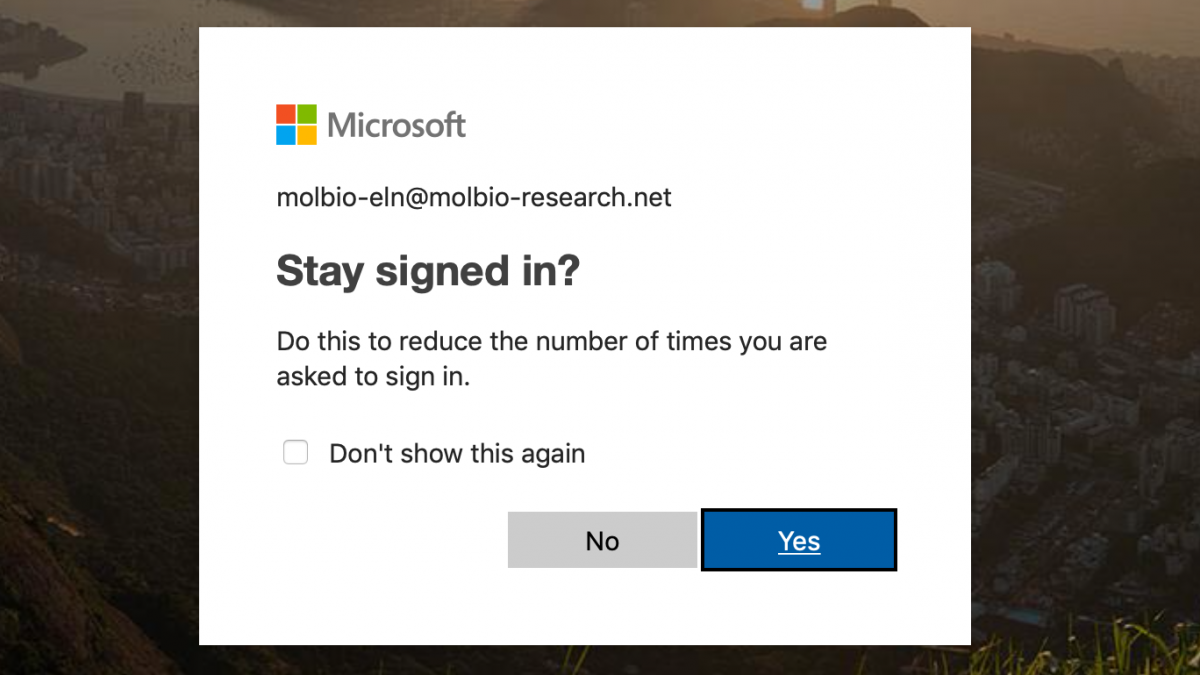
2e.Click 'Yes' to stay signed in. |
 |
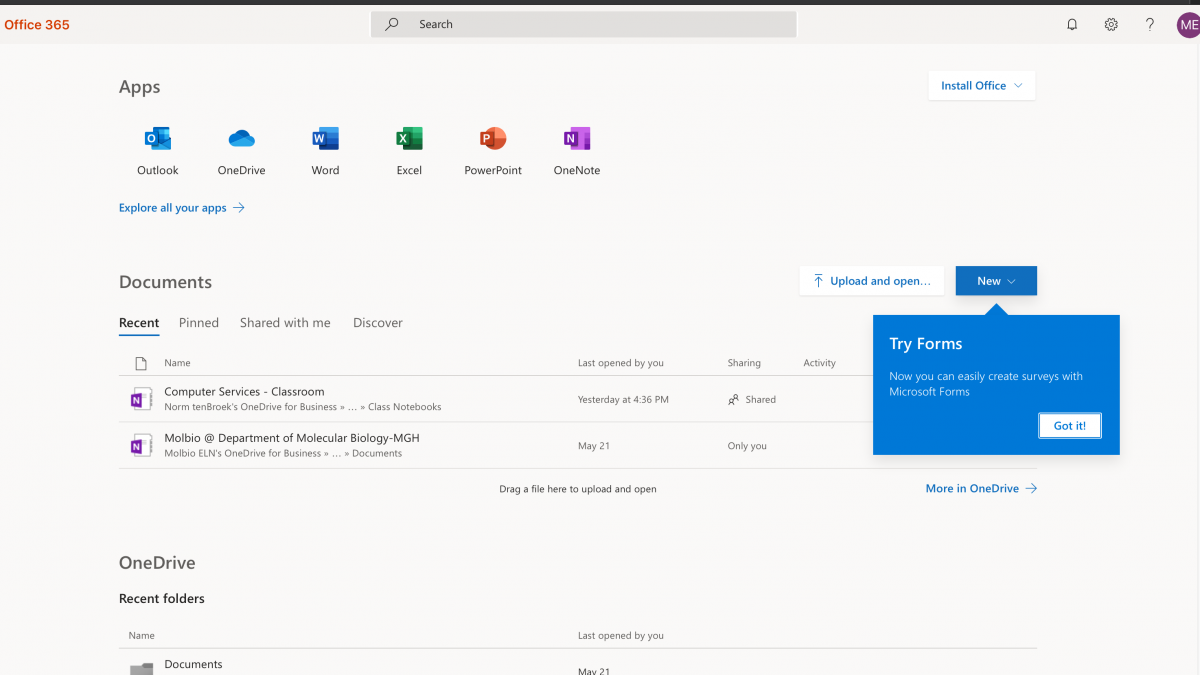
2d.Done! You have now signed in and can install the office applications in the next steps. |
 |

|
|
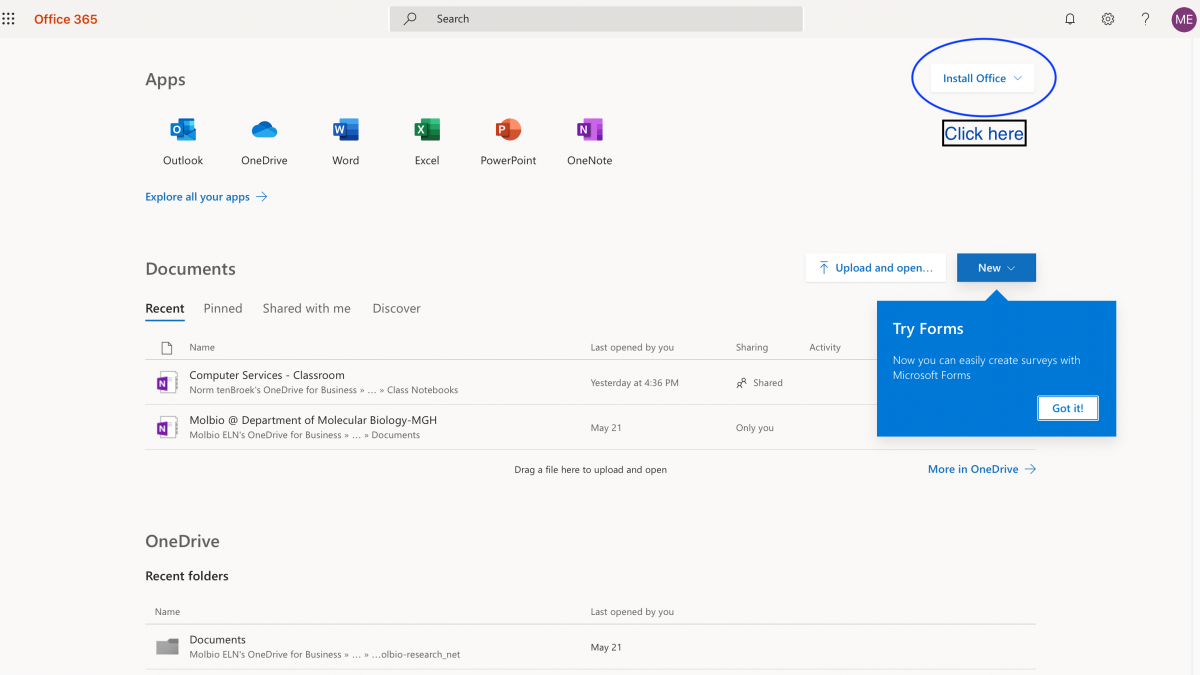
3.Install a fresh copy of Office on your computer.* If you have already installed the Molecular Biology licensed office365 you do not need to reinstall the package.It is important to reinstall the Office applications on your computer as you switch over to the Molecular Biology OneNote-ELN. Installing office will not effect any of the data on your computer. All of your documents will be untouched, but it will assure that the latest version of OneNote is installed and that it is licensed properly.Install office by selecting the 'Install Office' button at the top right of the window. |
 |
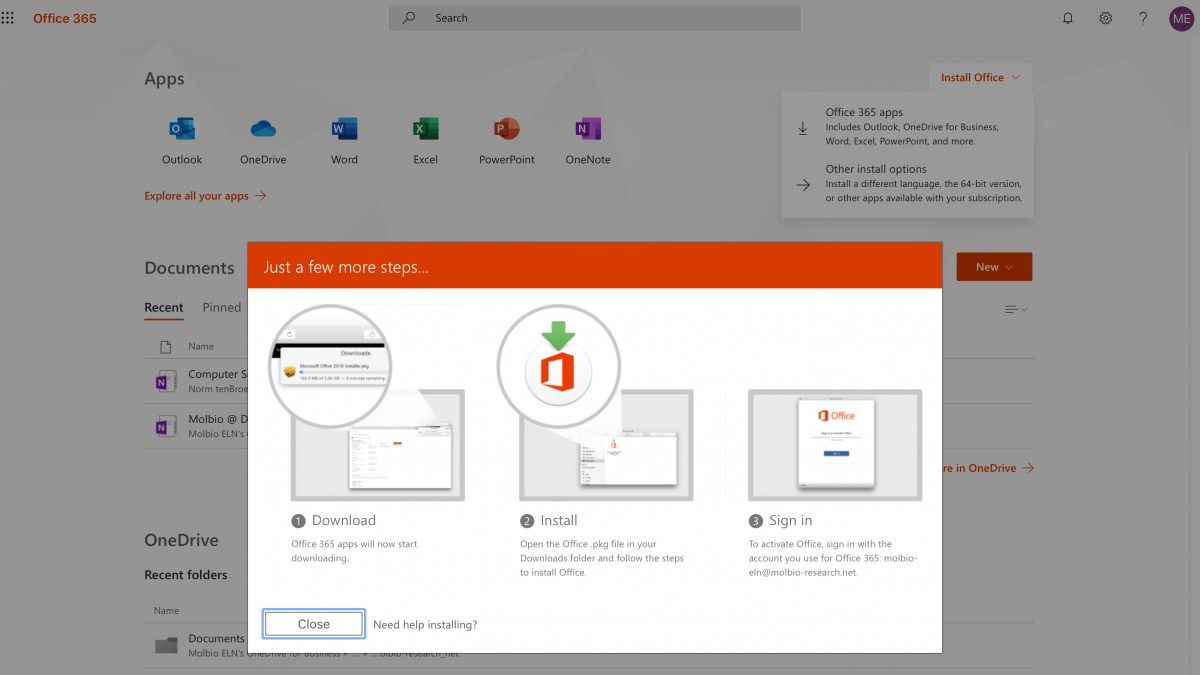
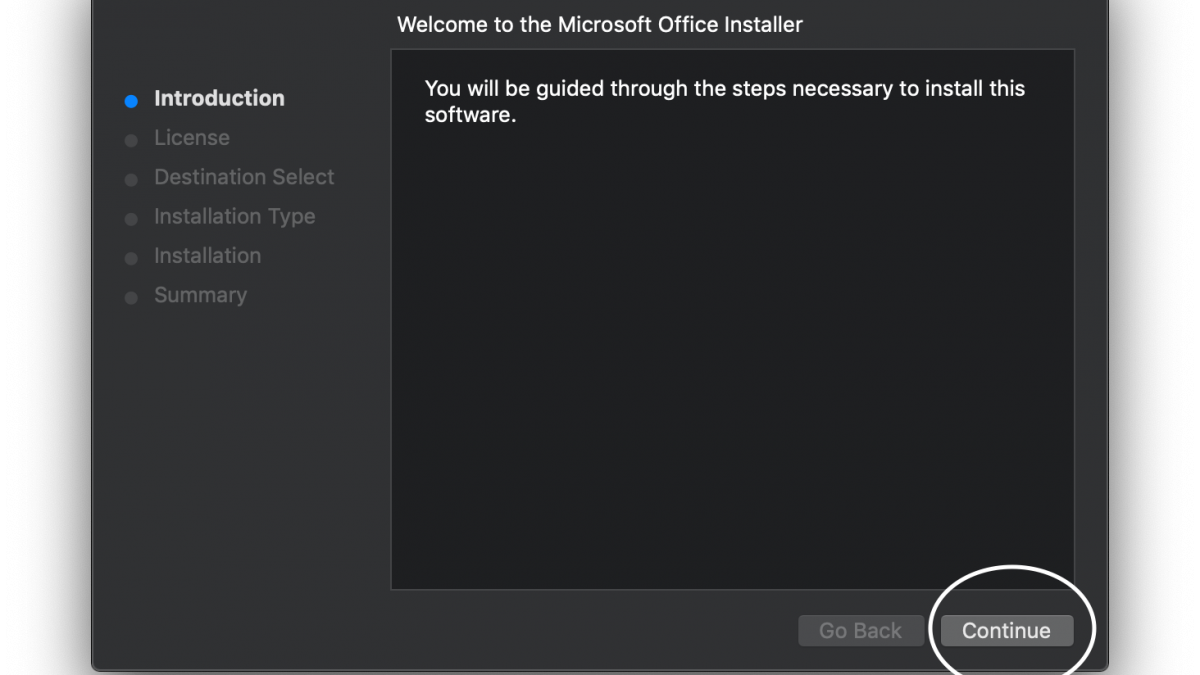
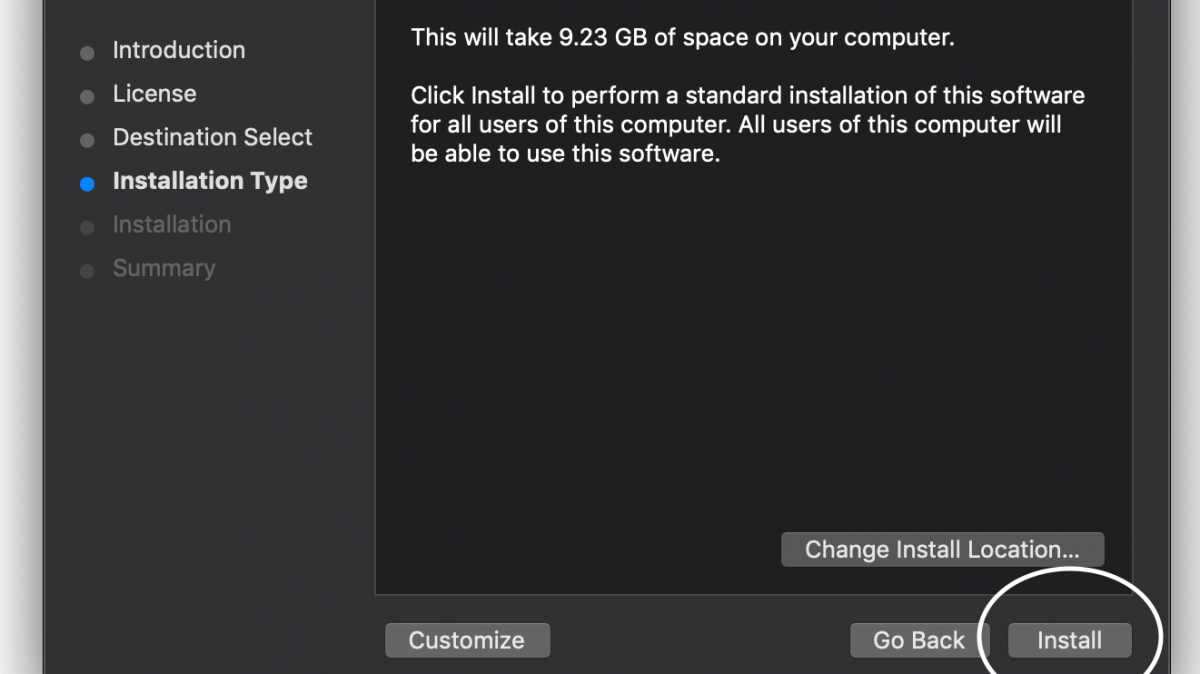
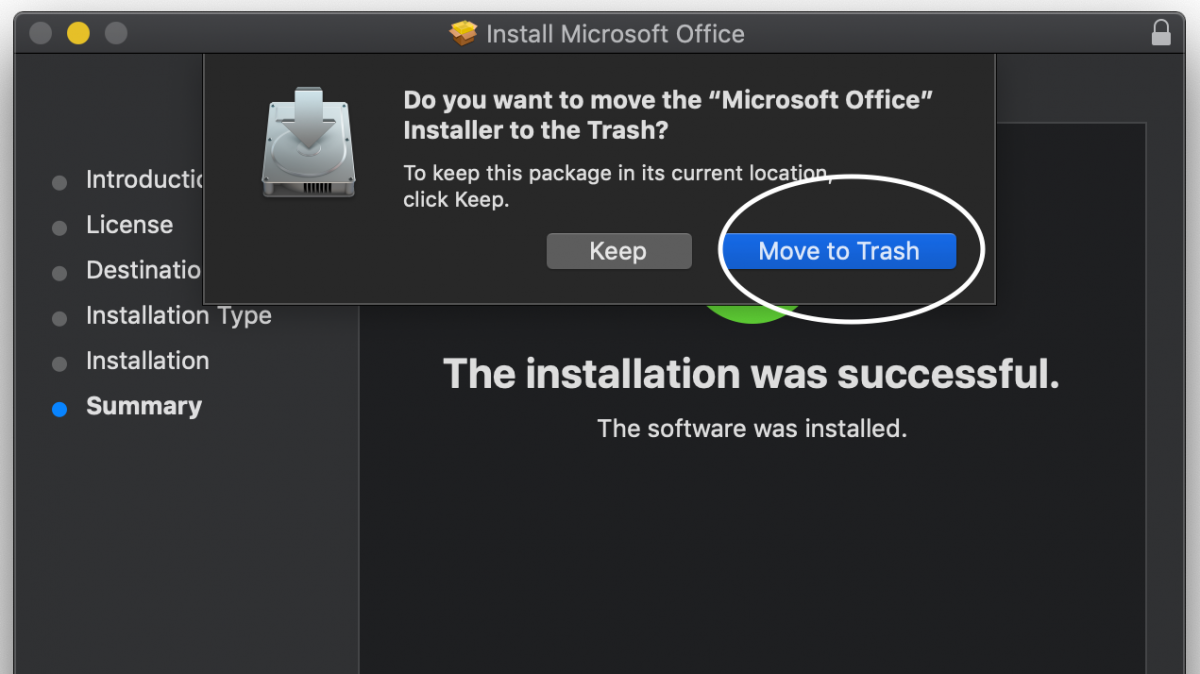
3a.A pop up will appear on your screen as the office installer downloads. Once it has finished open the downloaded package and double click it to install office. Follow the directions to finish the installation. |
 |
 |
 |
 |
 |
3b.Restart your computer and sign back in. |
|
4. Accessing your Molbio-ELN Notebook.Molecular Biology is utilizing a classroom notebook model for Lab Notebooks. That means that the notebook will be created by the 'molbio-eln@molbio-research.net' user and shared with you. Your P.I. will be added to your notebook as well. By using this method we will be able to ensure weekly incremental backups of your notebook. |
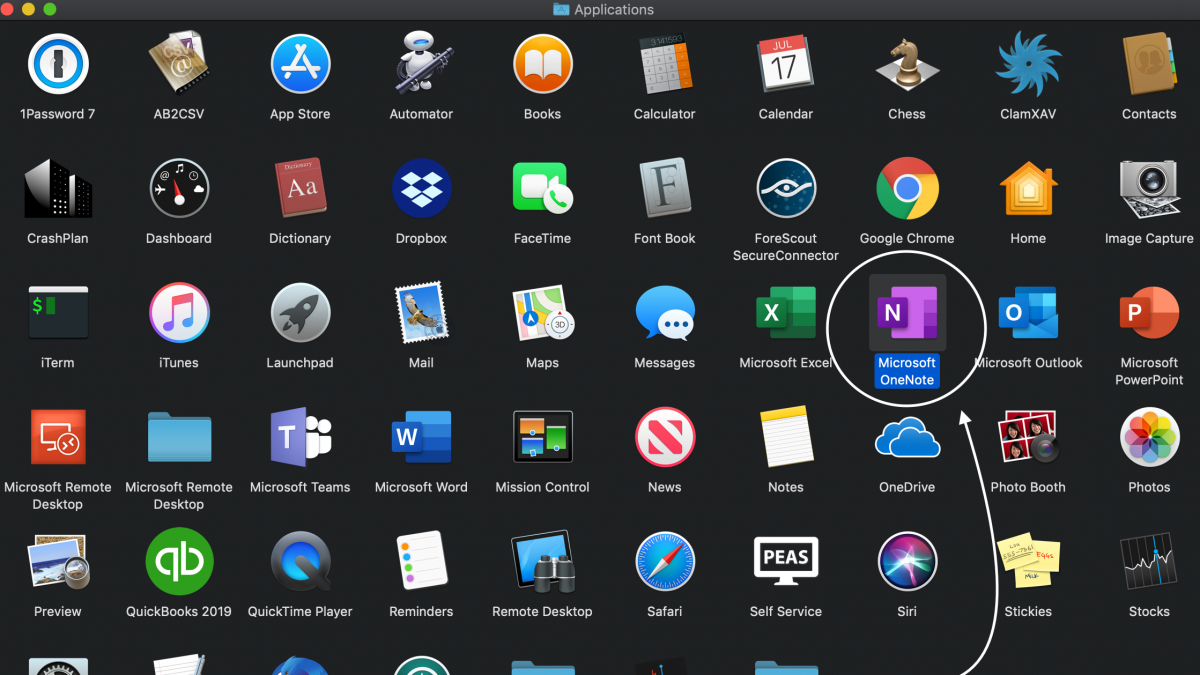
4a.Open the applications folder and open OneNote. |
 |
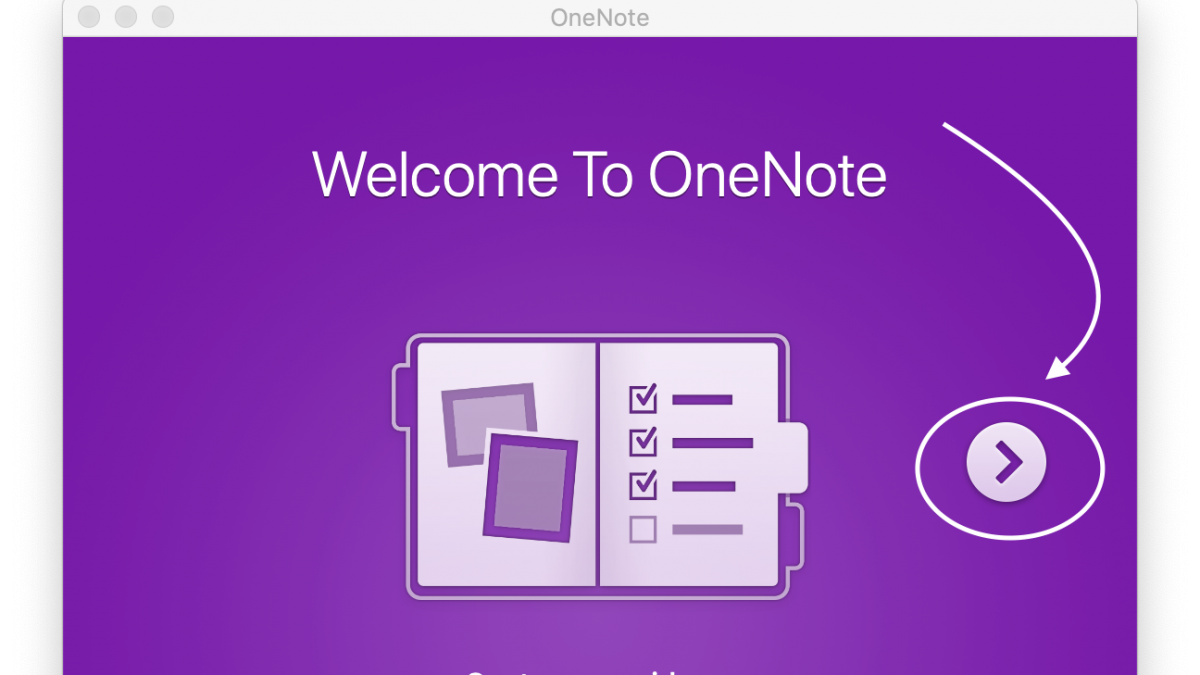
4b.Click through the welcome screen and select 'Sign In'. |
 |
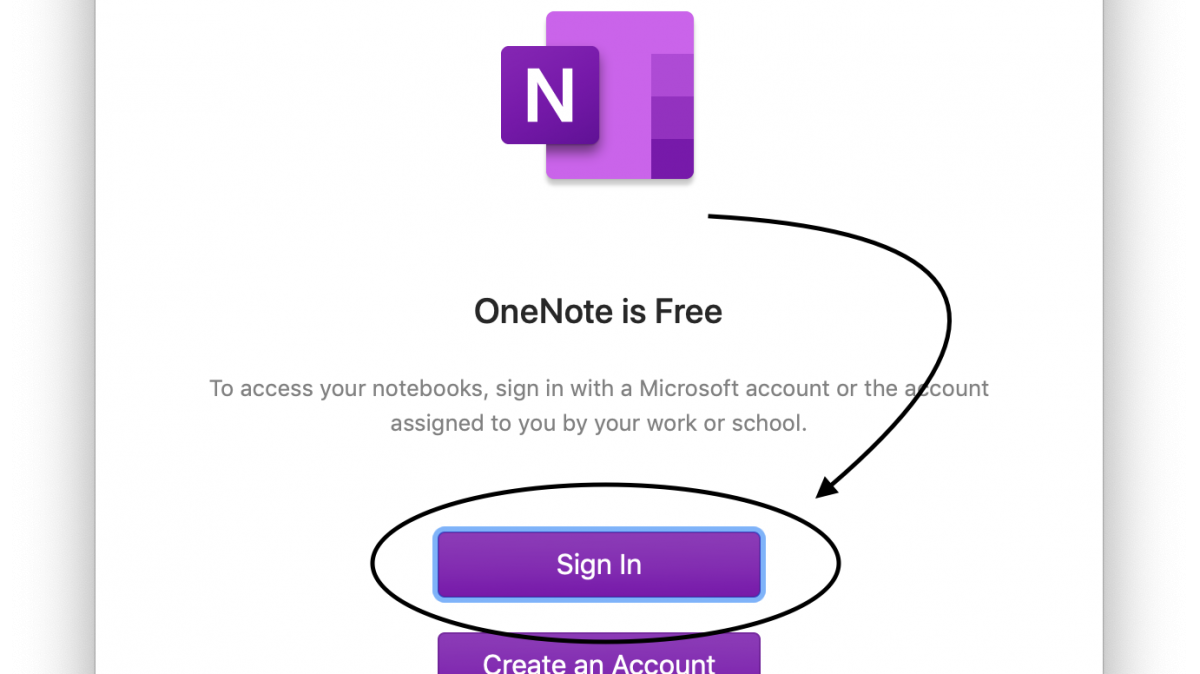 |
4c.Sign in to OneNote using the 'username@molbio-research.net' account information that you received earlier. |
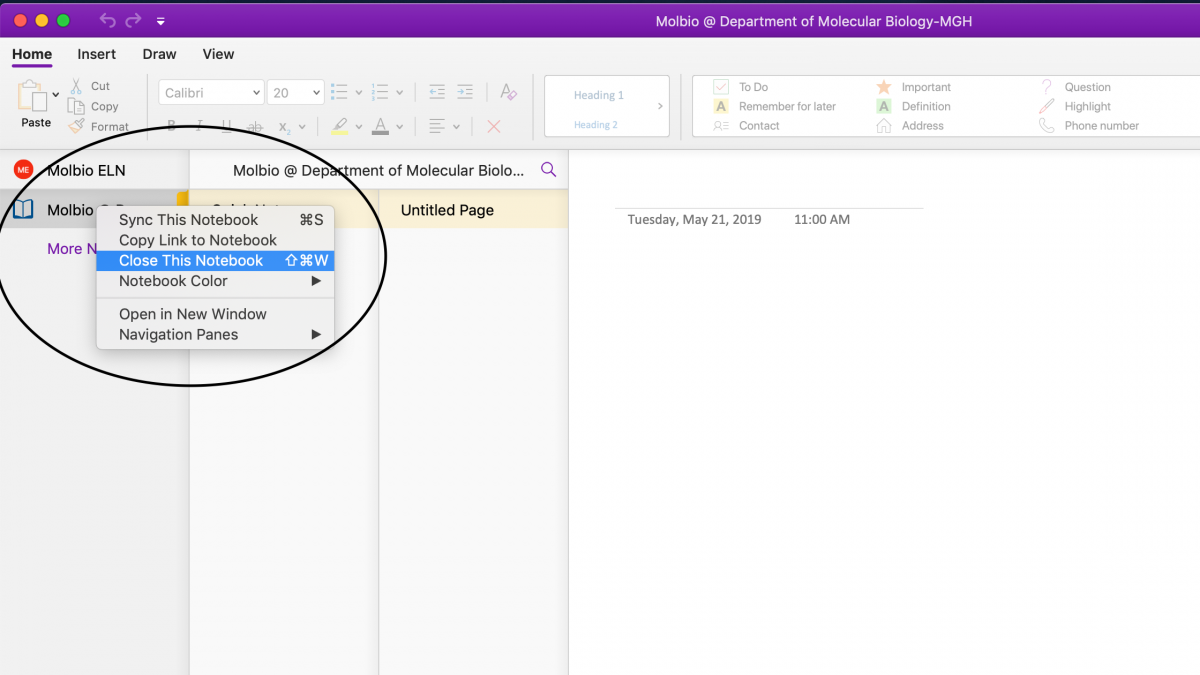
4d.Close the default notebook that was created when you signed in. It's very important that all of your work is done in the classroom notebook that was created for you. You can close the notebook by navigating to it as shown below and either 'right clicking' on it if you have a two button mouse or holding down the 'option' key while clicking on it to bring up the contextual menu selecting 'Close This Notebook'. |
 |
|
|
4e.Open your email and locate the invitation for your class notebook sent to you by the 'molbio-eln@molbio-research.net' user. That email contains a link you will need to open your Lab Notebook. |
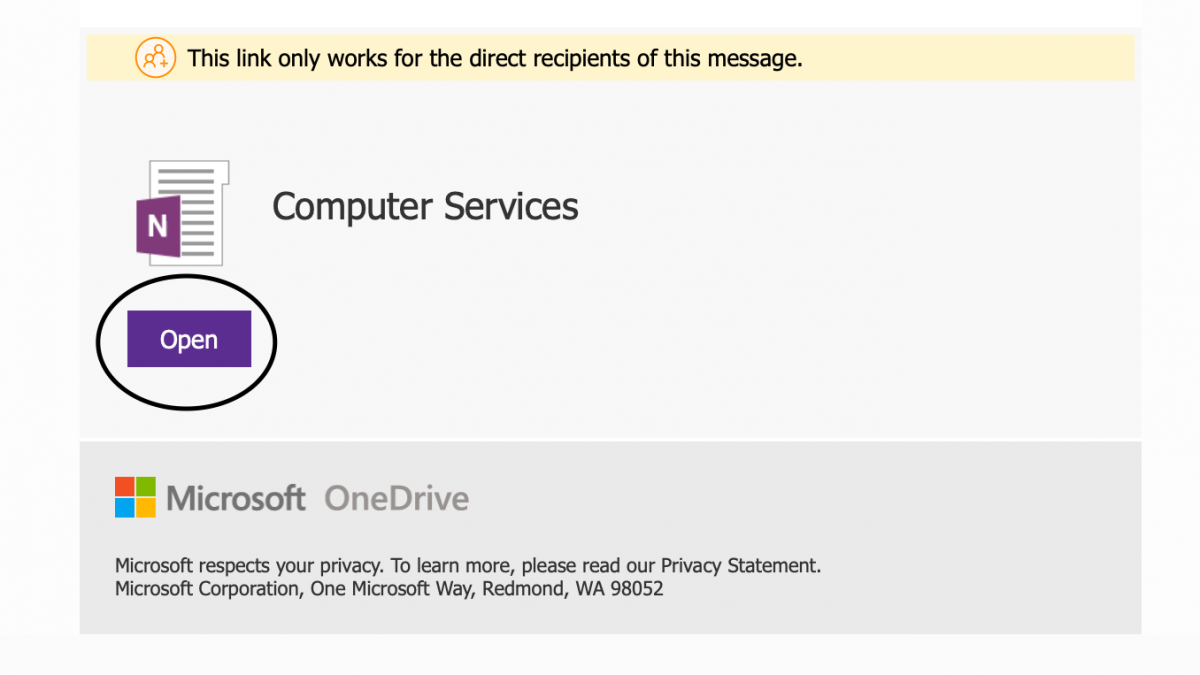 |
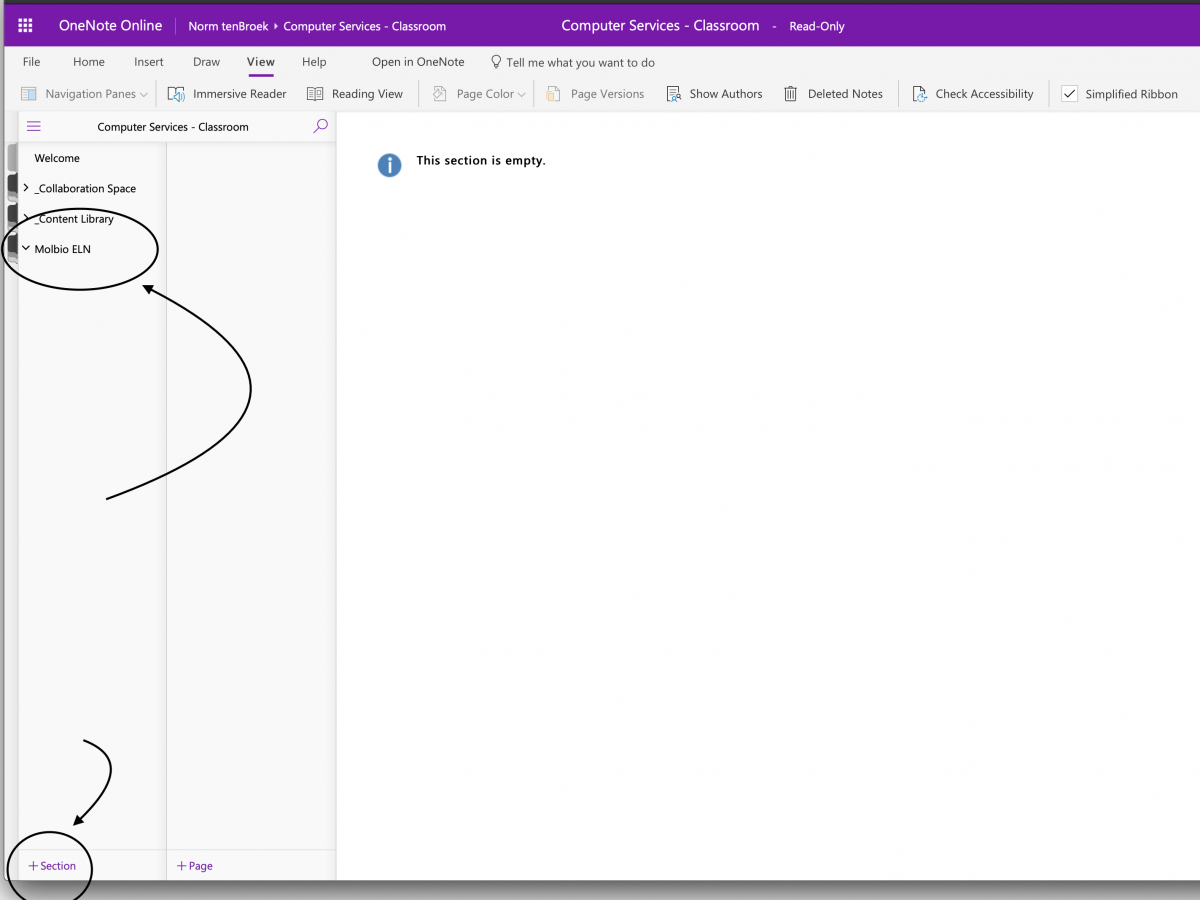
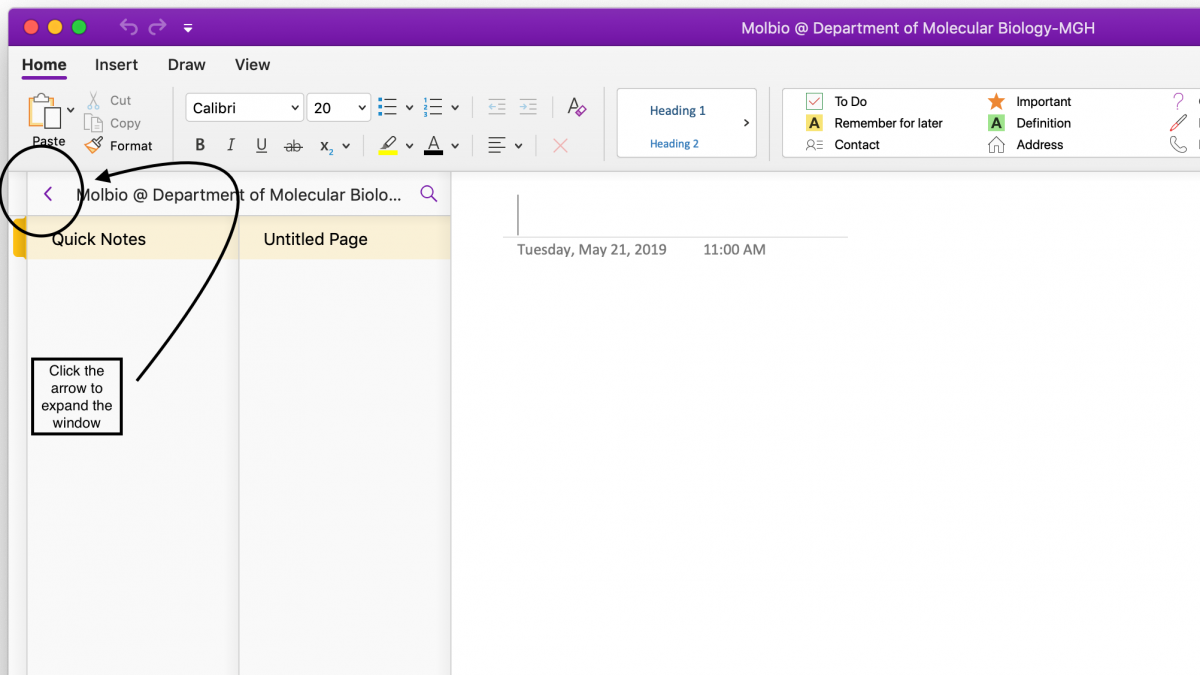
4f.Clicking the link will open the online version of OneNote in a web browser. You will be taken to the your notebook. The classroom notebook that we are using has four different sections. The first is a welcome page that helps new users use OneNote. The second is a 'Collaboration Space' that you and your PI can access jointly to share information. The third is a 'Content Library' where your PI may choose to distribute templates or protocols. The Fourth is named after you. In this example it is called 'Molbio ELN' but for each individual it will be labeled with their username. This section, the one named after you, is where you should keep you lab notes. Expand this section and click the '+' sign to create a new sub-section. |
|
|
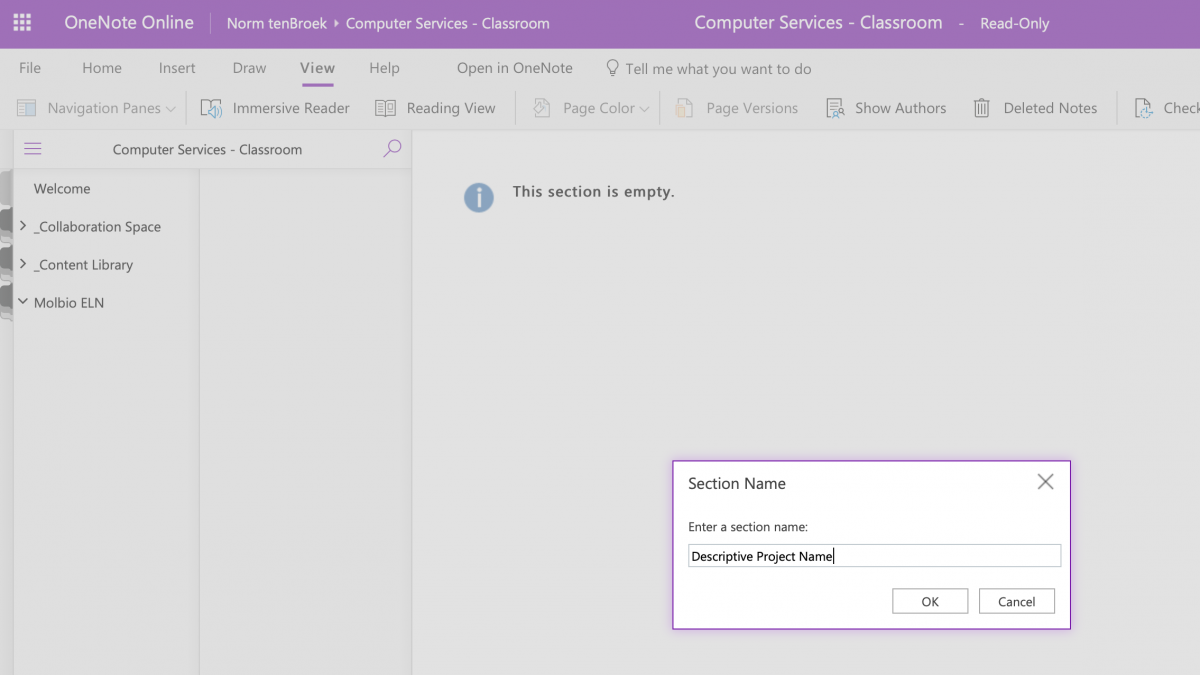
4g.You can create as many sub-sections as you need to stay organized. You can organize them by project, paper or date. Whatever seems best to you. |
|
|
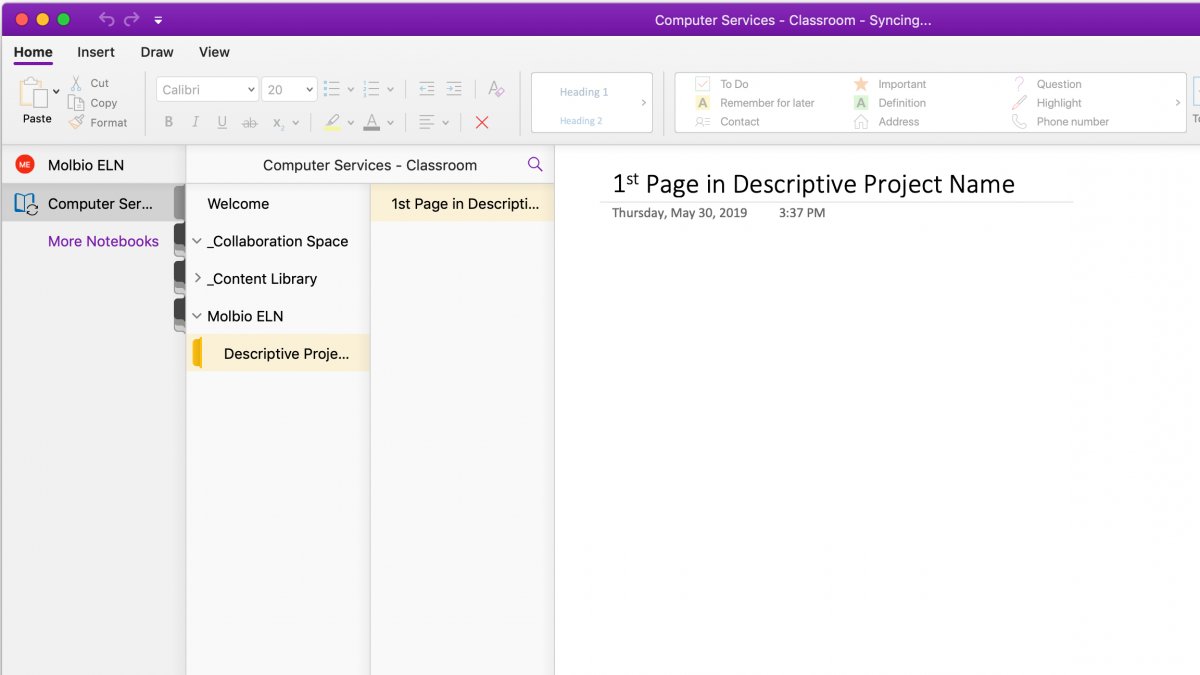
4h.Each sub-section or your notebook is made up of pages. Just like pages in a paper notebook. Go ahead and create a new page. |
|
|
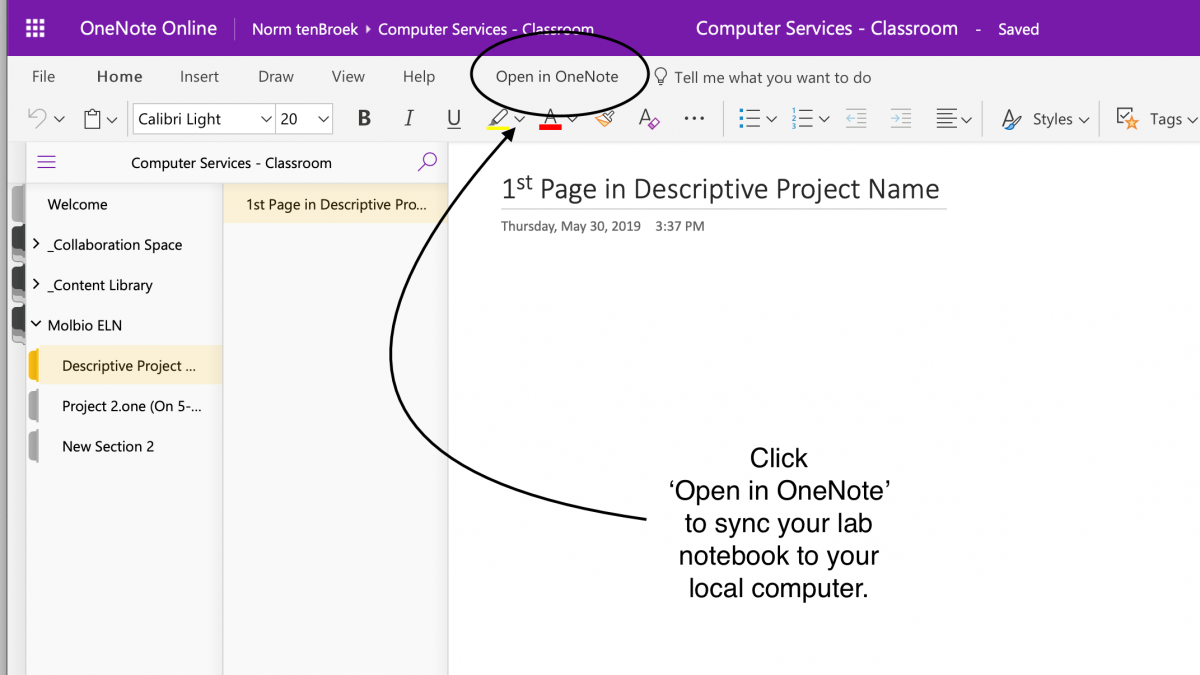
4f.Now click on the 'Open in OneNote' button to sync your notebook to your local computer. Once it has been synced your notebook will update itself automatically and will be fully available off-line. |
|
|
Congratulations! You should now be all set. If you're having trouble or something went wrong, please email help@molbio.mgh.harvard.edu Computer Services will get you up and running as soon as possible. |